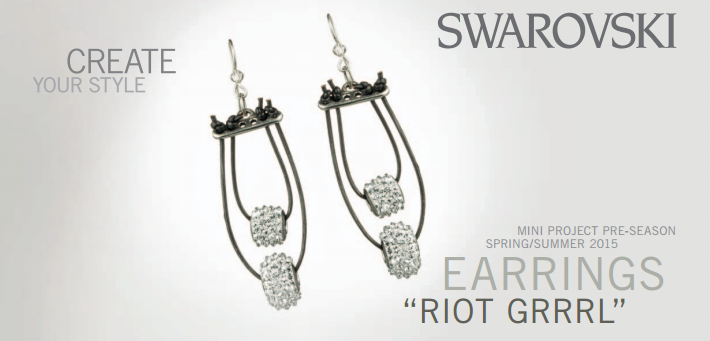
CREATE YOUR STYLE Mini Project Pre-Season Spring/Summer 2015

Swarovski crystals
Product Group Article No. Amount Size Color Color Code
Beads 5328 2 pcs. 4 mm Crystal 001
BeCharmed Beads 80401 2 pcs. 16 mm Crystal CAL 001 CAL
(Pavé Spikes)
BeCharmed Beads 80901 2 pcs. 11.5 mm Crystal CAL 001 CAL
(Pavé Spikes)
Supplies:
1 pair S/S Earring Blank TierraCast® 90-1120-00
2 pcs. 6 Hole End Bar TierraCast® 94-3169-40
2 pcs. Oval jump ring TierraCast® 01-0018-61
2 feet 1.0 mm black leather (soft)
STEP 1: Cut (2) 6” pieces of 1.0 mm leather. Set aside.
STEP 2: Cut (2) 5” pieces of 1.0 mm leather. Set aside.
STEP 3: Using (1) piece of leather from step 1, make an overhand knot. Slip the unknotted end into the left outer-most hole of the 6 Hole End Bar. Slide on (1) Swarovski BeCharmed Bead Pavé Spike art. 80401 Crystal CAL. Slip the open leather end through the right outer-most hole of the 6 Hole End Bar. Adjust for the desired loop length and create an overhand knot.
Note: the knots should be exiting from the same side of the 6 Hole End bar. Tighten down the knots and nip the excess leather to ~4 mm from the knot.
STEP 4: Using (1) piece of leather from step 2, make an overhand knot. Slip the unknotted end into the second hole from the left of the 6 Hole End Bar. Slide on (1) Swarovski BeCharmed Bead Pavé Spike art. 80901 Crystal CAL. Slip the open leather end through the second hole from the right of the 6 Hole End Bar. Adjust for the desired inner loop length and create an overhand knot.
Note: the knots should be exiting from the same side of the 6 Hole End bar. Tighten down the knots and nip the excess leather to ~4 mm from the knot.
STEP 5: Using (1) Earring blank, slip on (1) Swarovski XILION Bead art. 5328 4 mm Crystal and create a simple loop.
STEP 6: Open (1) oval jump ring and attach it to the top loop of the 6 Hole End Bar. Before closing the loop, slip on the earring blank made in step 5. Close loop.
STEP 7: Repeat steps 3-6 for the second side.
