DIY Nail Art ~ How To Glue Swarovski Crystals To Nails
Posted by Harmony Reilly on 3rd Jun 2016
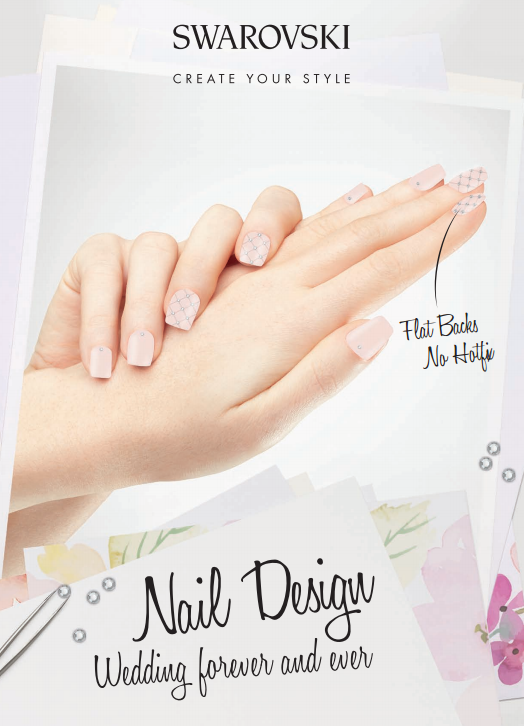
Swarovski Create Your Style Nail Design
Nail art is a beautiful way to express your own personal style and it's fun to create a special look for all kinds of occasions. Here is a lovely DIY Swarovski Crystal nail design and instructions for a bride or the bridal party.
Gluing Swarovski Crystal to your nails is fun, easy and creates beautiful, eye-catching results. Below are step-by-step instructions on how to apply crystals to your nails using two different methods.
Looking for more designs to choose from? Visit our Pintrest Page for more Swarovski Crystal Nail Art Design Inspirations!
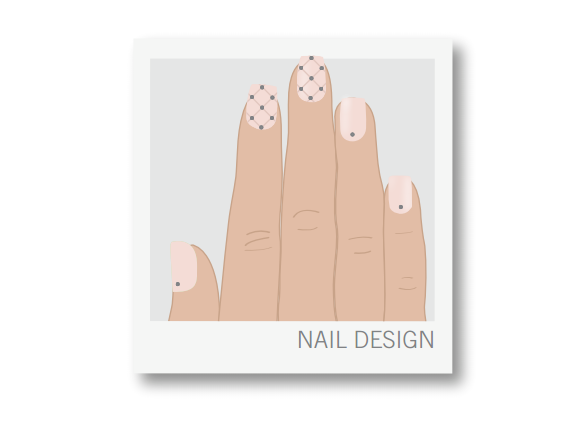
Level of Crystal Nail Art Design: BEGINNER
Swarovski Crystals used in this Nail Art Design
2088-5ss Swarovski Crystal Flatback Rhinestones in Clear Crystal
Supplies
Nail/Gel Polish, nude (Additional supplies depending on application technique)
Tools
Tweezers,
Wax stick/toothpick/Crystal Katana
Additional supplies depending on application technique

APPLICATION POSSIBILITIES
STEP 1: Add a small amount of nail glue to a toothpick and place on the polished nail where you want to add the crystal.
STEP 2: Pick up the Swarovski Flatback No Hotfix with a wax stick, tweezers, or the Crystal Katana and apply to the glue on the nail. Continue to apply glue and crystals to create the design of your choice.
STEP 3: Use a thin detailing brush to apply a small amount of top coat around the base of the crystals to seal.
SETTING WITH GEL POLISH
STEP 1: After applying the gel color of your choice, apply the gel top coat.
STEP 2: Pick up crystals with a wax stick, tweezers or the Crystal Katana tool and apply to the uncured top coat in the pattern of your choice.
STEP 3: Cure the nail under the UV light to set the top coat and Swarovski crystals.
STEP 4: Dip a small detail brush into the top coat and seal the edges of the crystals. Cure under the UV light. Follow gel polish instructions to complete manicure.

I would LOVE to see your nail art designs using Swarovski Crystals! Please share the love by posting pictures here or on Rainbows of Light's Facebook Page so we can all Ooooooo & Awwww over your beautiful creations!

Thanks for stopping by!
Wonder Girl Kashi & I sincerely appreciate it!
Keep Smiling & Keep Shining!